We offer a premium selection of hardwood flooring options that enhance the beauty home or office. Explore helpful insights on the benefits, care, and professional installation of hardwood floors!
Why Hardwood
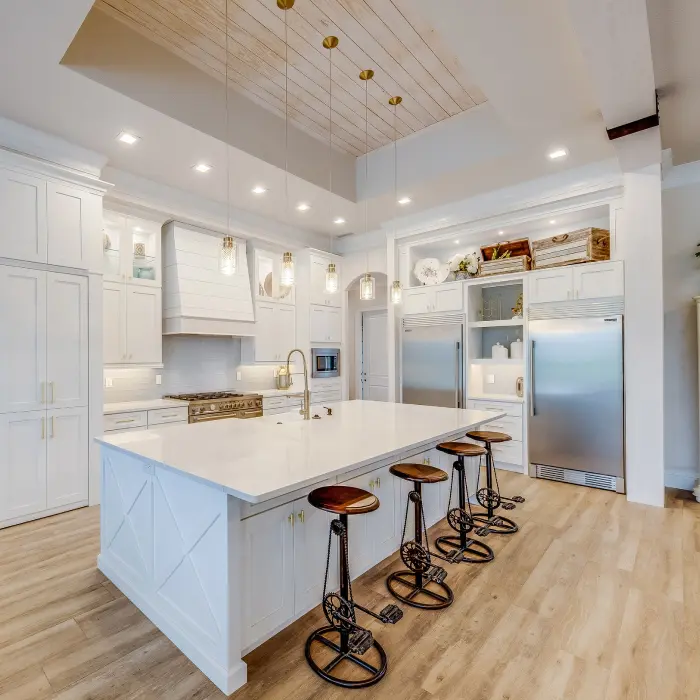
Rich, natural strength and beauty that will last for generations. There are many reasons to love hardwood floors. Natural colors, beautiful grain, and perfectly imperfect marks that speak to the character and uniqueness of each board, just to name a few.
Why You'll Love Hardwood
- Natural, beautiful, timeless - Shaw Hardwood floors will create an elegant and inviting environment in your home. Our high-quality hardwood floors bring a rich, lasting appeal to any room.
- Durable - Our ScuffResist®Platinum finish resists stains and scratches better than the competition, keeping your floors looking younger longer with easy no-wax care. These are floors meant to be lived on.
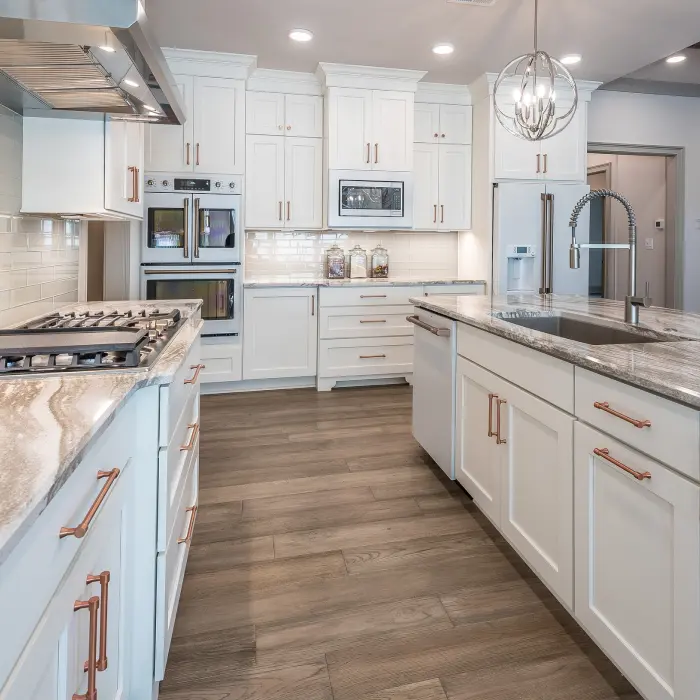
- Variety of Looks - Shaw Hardwood floors represent the beauty and variety already found in nature using a wide range of hardwood species: maple, oak, hickory, walnut, pine, birch, and cherry. They’re all here. We offer a variety of shades and colors that will give your home a distinct and unique character while achieving a clean and consistent look throughout.
- Character - Hardwood’s naturally occurring patina can add history and character.
- Variety of Construction Options - Shaw offers a number of options when deciding which hardwood surface is best for your home. You can choose from: Shaw EPIC Plus™ Hardwood, Shaw Engineered Hardwood, Shaw Solid Hardwood
- Value - Adding hardwood to your home is definitely an investment and can add value to your home.
Hardwood Care & Maintenance
To protect your lustrous hardwood floor and preserve its gleaming beauty, there are a few things you need to do. But each step of recommended maintenance—from using the right cleaning techniques to placing protective pads under furniture—is simple, and we’ll guide you.
Shaw Hardwood products, with their DuraShield finish, provide superior wear; easy, no-wax care; plus superior resistance to staining from all common household products such as coffee, shoe polish, lipstick, acetone, mustard, and more. A few simple maintenance steps, however, will help protect your investment and keep your Shaw Hardwood flooring looking like new.
Cleaning
- Use a damp cloth to blot spills and spots as soon as they happen. For tough spots, such as oil, paint, markers, lipstick, ink, tar, or cigarette marks, use acetone/nail polish remover on a clean white cloth, then wipe with a damp cloth. Always avoid allowing liquids to stand on your floor.
- Sweep, dust, or vacuum the floor regularly with the hard floor attachment (not the beater bar) to prevent accumulation of dirt or grit that can scratch or dull the floor finish.
- Occasionally wipe the floor with a damp mop or cloth.
- Other routine care instructions: For spots such as candle wax or chewing gum, harden the spot with ice and then gently scrape with a plastic scraper, such as a credit card. Be careful not to scratch the flooring surface. Wipe clean with a damp cloth. For tough stains, use Shaw's R2X Hard Surfaces Flooring Cleaner. Do not use any type of buffing machine.
- What to avoid: Don't use oil based, wax, polish, or strong ammoniated or abrasive cleaners. Don't use steel wool or scouring powder. Don't wash or wet-mop the floor with soap, water, oil-soap detergent, or any other liquid cleaning material. This could cause swelling, warping, delamination, and joint-line separation, and void the warranty. Don't use any type of buffing machine.
Protect Your Floors
- Use protective mats: Good quality entry and exit mats will help collect the dirt, sand, grit, and other substances such as oil, asphalt, or driveway sealer that can otherwise be tracked onto your flooring. Do not use rubber- or foam-backed plastic mats as they may discolor the flooring. To prevent slippage, use an approved vinyl rug underlayment.
- Use floor protectors on furniture: Use floor protectors and wide-load-bearing leg bases/rollers to minimize indentations and scratches from heavy objects. As a rule, the heavier the object, the wider the floor protector should be.
- Maintain relative humidity level: Maintain a normal indoor relative humidity level between 45 and 65% throughout the year to minimize the natural expansion and contraction of wood.
Heating Season (Dry): A humidifier is recommended to prevent excess shrinkage due to low humidity levels. Wood stove and electric heat tend to create very dry conditions.
Non Heating Season (Wet): An air conditioner, dehumidifier or periodically turning on your heating system can maintain humidity during the summer months. Avoid excessive exposure to water during periods of inclement weather. - Avoid sharp objects: While your Shaw Hardwood floor is one of the most wear resistant floors on the market, sharp or pointed objects can damage it nonetheless.
- Watch your feet: Don't walk on your flooring with stiletto-style heels, spiked golf shoes, or cleats. They may cause indentations in your flooring.
- Watch your pet's feet: Keep your pet's nails trimmed to keep them from scratching your flooring.
- Rearrange your rugs and furniture: Periodically rearranging your area rugs and furniture will allow the flooring to age evenly. UV sunlight will soften the tone of different species of hardwood to varying degrees.
- Protect the floor when moving: Use a dolly when moving heavy furniture or appliances. But first, put down a sheet of quarter-inch plywood or Masonite to protect the floor. Never try to slide or roll heavy objects across the floor.
Hardwood Installation
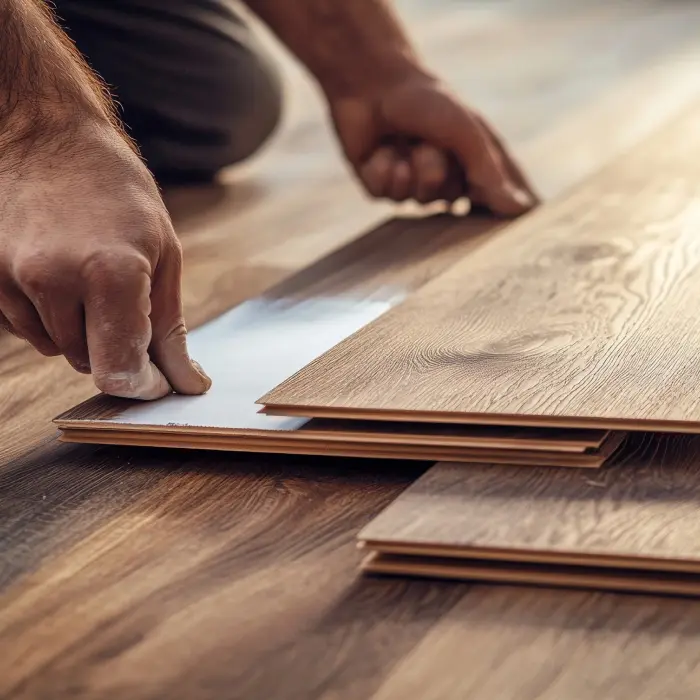
We help you every step of the way after you’ve selected your new floor: professional on-site measurement, removal of old flooring and skilled installation.
Before Installation
- Step 1: Remove Existing Flooring - Make sure you know who’s removing your existing flooring. If you wish, the installer will do it. If not, you should make arrangements to have it removed.
- Step 2: Remove Furniture - Who’s moving the furniture? Decide in advance if you want to take on the responsibility or if you want the installer to handle it. Either way, be sure to remove all fragile items from the room.
- Step 3: Position Flooring - In general, your hardwood should run parallel to windows or, in narrow rooms, to the longest wall. Added stability is achieved by installing hardwood perpendicular to floor joists.
- Step 4: Measure Door Clearances - Measure door clearances before you have your hardwood installed. If the new floor is thicker than your existing floor, door bottoms may rub. Plan in advance to have someone shave or saw the correct amount off the bottom of each door so it does not drag.
- Step 5: Paint First - Paint first. If you’re planning to paint, wallpaper, or do any other remodeling in the room, it’s best to do it before your hardwood is installed. Keep extra paint to touch up any post-installation nicks.
During Installation
- Step 1: Current Flooring - A professional installer will evaluate your floor and subfloor construction and will know whether to remove the existing flooring or install on top of it. If it’s removed, the installer knows how much preparation is needed for the subfloor—like use of a leveling compound—or if a new subfloor should be placed over the old one.
- Step 2: Moisture testing - Proper acclimation and moisture testing of the wood flooring and subfloor are required so floors won’t cup, buckle, or develop gaps later. Your installer will follow this critical step for either solid or engineered hardwood.
- Step 3: Installation - Using the proper equipment, your installer will nail or glue boards in place, working from multiple cartons to create consistency in the look of the floor. When encountering unforeseen problems, experienced installers know how to solve them.
- Step 4: Overall Quality - Professional installation ensures that your floor will look beautiful and perform well over time.